
Hey there! It's been almost a week since my last post but I swear I have good reason! On Sunday I was slicing up carrots with one of those evil mandoline slicers and I bet you can imagine what I did....yup, put my thumb right through it! It was my whole fault since I wasn't using the guard (seriously, how can you use the guard with carrots?) and I was joking about it happening right before it did. Anyway, off I went to the ER and now have 4 pretty blue stitches in my right thumb. Honestly, my first thought was "at least it's not my picture hand"...I'm a true nail polish addict! But I haven't been wanting to crop pictures and type too much since doing it so I've been lazy. I have managed to do my other nails a couple of times but I still have last weekend's polish on my thumb. I say it's being punished for not behaving itself so it doesn't get to match its sisters. Can you imagine how much acetone is going to hurt in that wound? But now onto better thoughts. To get back into the blog this week I decided to post some nails that I literally stuck in everyone's face when I was wearing them. Whats Up Nails was nice enough to send me their Mermaid Flakies to review and I fell in love. This was my first time trying out the loose flakies and they were easy peasy. And gorgeous. Seriously, just look at these!

The Mermaid Flakies come in a small jar containing 0.4 grams. That doesn't sound like much but remember that these flakes weigh next to nothing so it's actually a ton. They are an iridescent clear on their own butm when layered over a dark color, they take on a blue-green-gold shift - just like mermaids should! Word to the wise - be careful when playing with these or you'll end up with tiny flakes on everything you own. There are still some stuck on my phone screen. I keep catching tiny colourful glimpses when I look at it which makes me happy so I haven't tried to get them off.

To apply them the first time, I used a black base. While my top coat was wet I used a small dry brush to pick some flakies up and pat them into my polish and then topped it with KBShimmer Clearly On Top. It took almost no time AND I got way more flakies than I could get with a flakie top coat. You can see how the flakies vary in size which gives a really nice effect. They're so much bigger than you would be able to get in a polish.


While they were on over black, I stamped with Lina Nail Art Supplies Make Your Mark 03 with Born Pretty Store Silver stamping polish. I topped that with OPI matte top coat because flakies love to be matte'ed. These flakes are no exception.


Next, I just had to do some mermaid nails. How could I not? I love mermaid nails more than anything AND it's in their name! I did a gradient of Moonflower polish Turquesa and Azul over Dia (these stamping polishes make for such a quick gradient since they're very pigmented) and then applied the Mermaid Flakies. I then stamped with UberChic Beauty Mermaid Life with Violeta. The shell was done with Mundo de Unas Black and Bronze and topped with Cleary On Top.
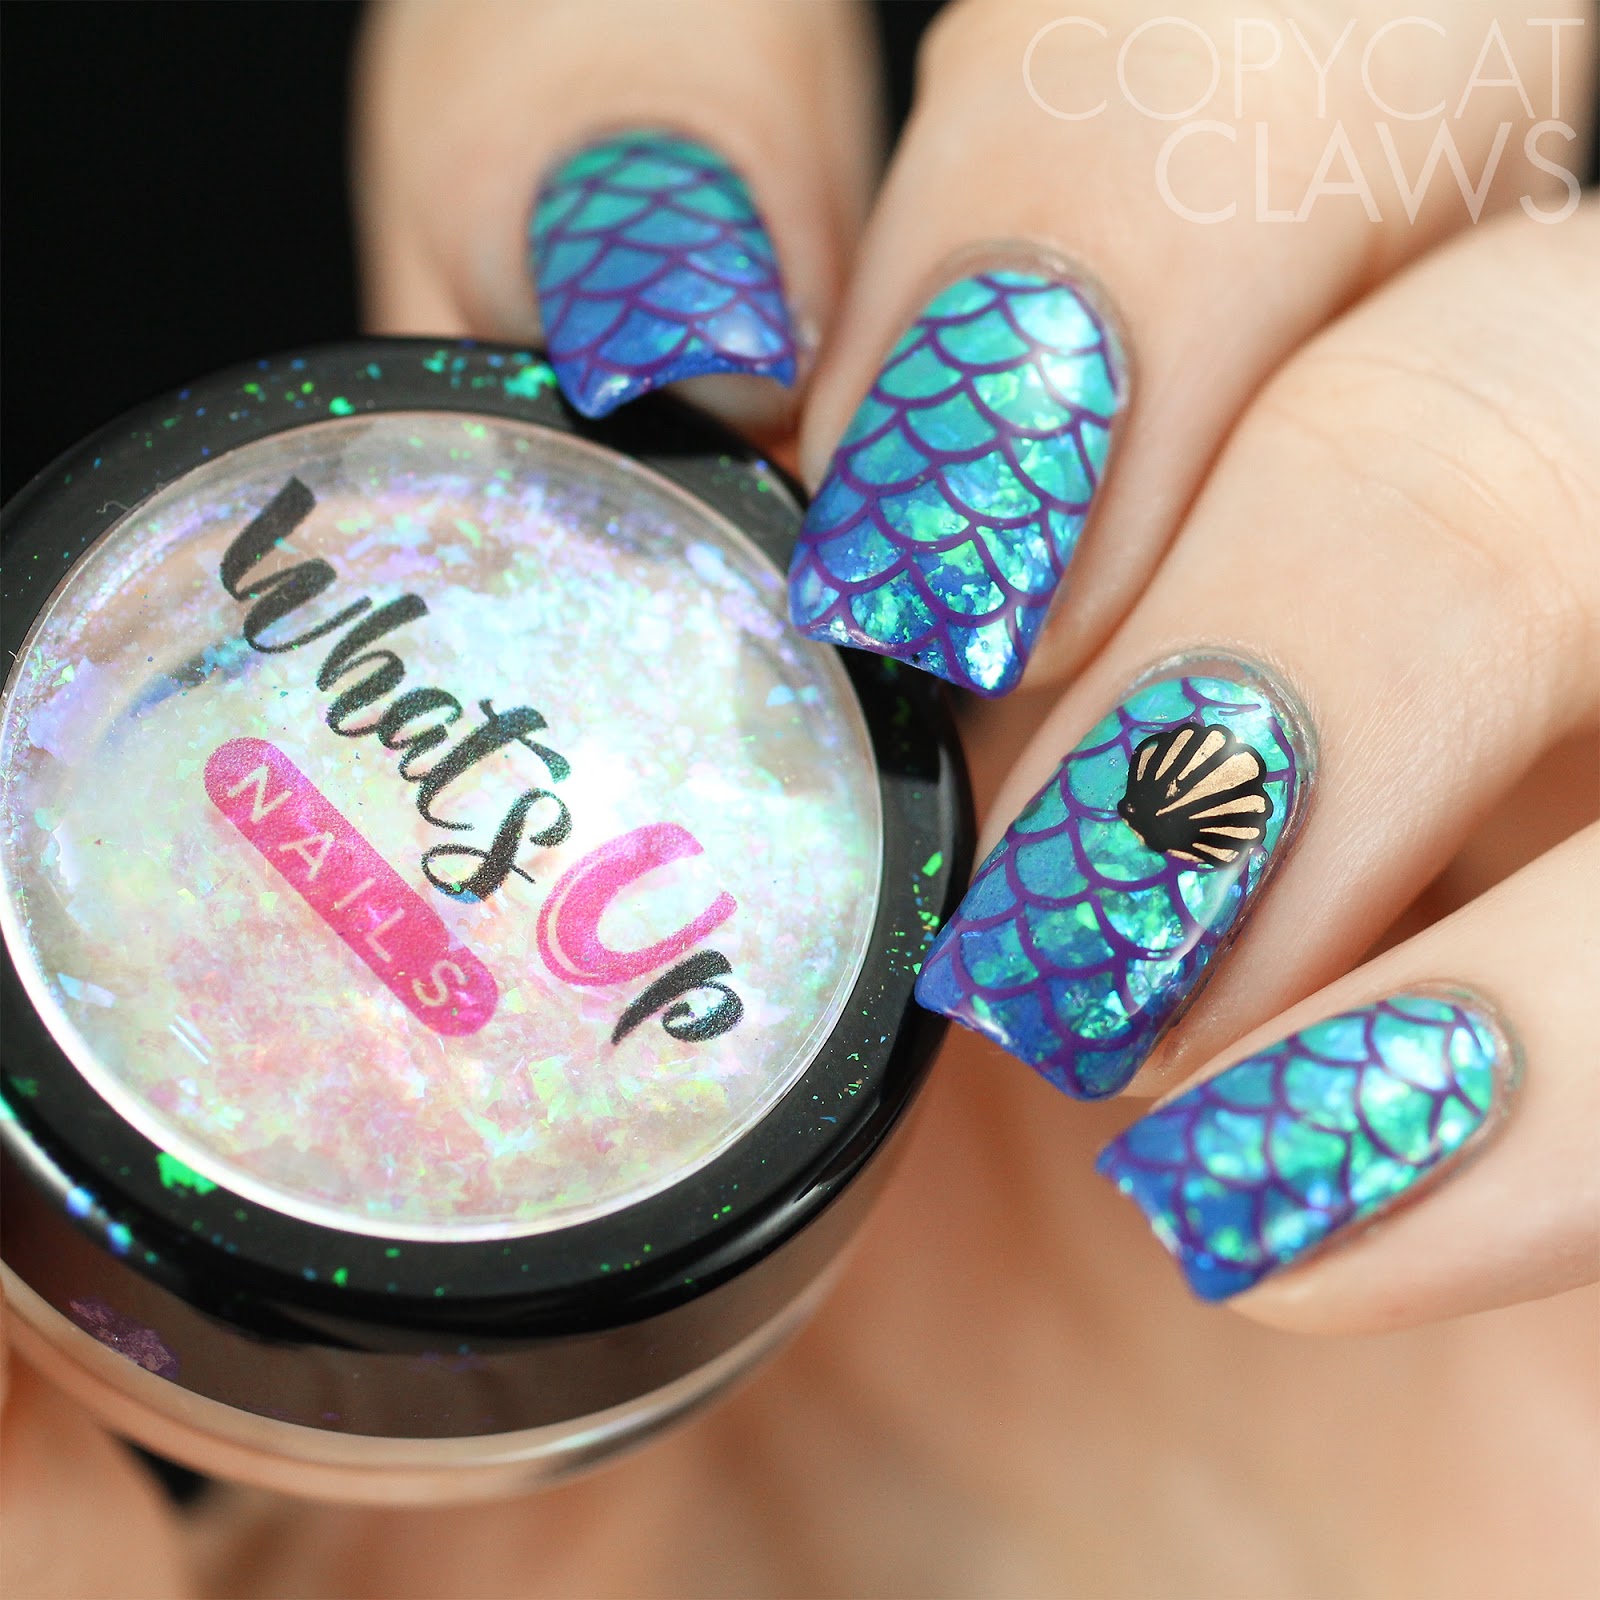
The color shift isn't quite as strong over the lighter colors but I really thought these were some of the prettiest nail art I've ever worn. I wore it for as long as I possibly could.


If you like the look of flakies but haven't tried the loose ones yet, I highly recommend them. They're easy peasy. Whats Up Nails stocks them in a lot of colors for those of you who are less mermaid-obsessed than me.
$21.75 each
Available at What's Up Nails
'Til next time...

No comments:
Post a Comment